
Technique for building a curved wall
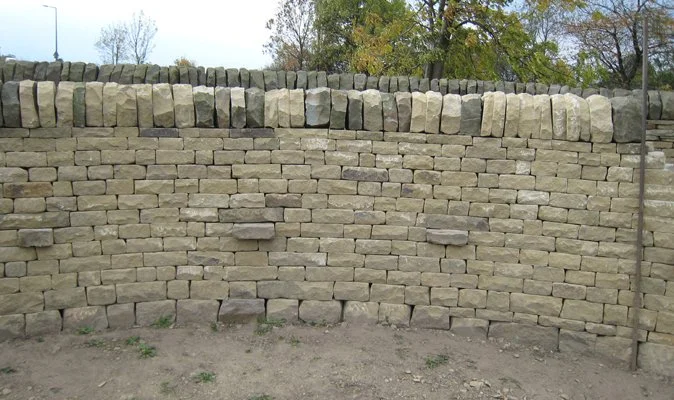
The BTCV Dry Stone Walling book states that a curved wall is possibly the hardest standard feature to build. Having given a great deal of thought on to how to overcome the problem of building a curved wall with the same batter angle on both the inside and outside I think I have come up with a solution which overcomes this problem.
Firstly, follow the guidelines from the BTCV book on how to set out the foundations. It is also useful to have a wooden batten with the width of the footings marked on. Use this to make sure the foundations are parallel. I used this batten on each course and then cut this to size when starting another course.
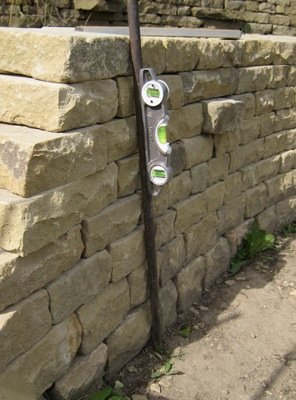
I put a lot of effort into making sure the foundations were level and had a smooth curve on both sides. The reasons for this will become apparent. I then set up a walling frame about ½ a metre from the end of the wall. This was used as a visual guide but most importantly it was used to measure the batter angle.
To set up my walling bars I bought a Stanley spirit level with an adjustable circular vial. This spirit level, which is widely used by metal workers, also has a wide groove on the base with built in magnets. I then attached this spirit level to the frame and set the circular vial so that the bubble on the spirit was in the centre I also checked the opposite bar to make sure that both were set are the same angle.
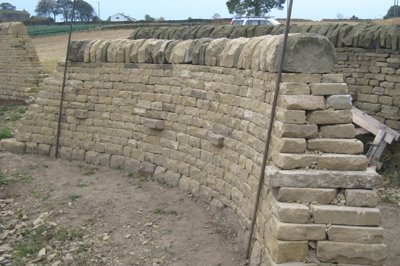
I was now ready to start building the wall. Place the level to a separate bar that can be used to set the inside angle and by turning the bar 180° for the outside measurements. Start by setting two end stones one on the inside and one on the outside of the wall at the end nearest the walling frame and use the rod with the spirit level attached to set the correct batter angle. I then set 4/5 pieces of stone on the inside wall along with a few well-placed fillers. Then set the rod against the second walling stone and tight to the foundation stone. Adjust this stone to get the right angle with the bubble level. Pack with fillers and repeat with another 4/5 stones. Then work along the rest of the first course on the inside wall. Repeat on the outside wall checking the wall is parallel with the baton, then finally pack tightly with fillers.
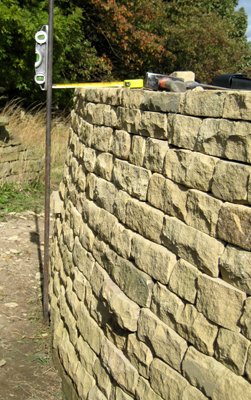
Repeat on the next course not forgetting to trim your baton at each new course. This gives a double check that your wall is parallel and makes sure that you do not run off line. Continue on with the courses until your wall is finished hopefully with perfect matching batter angles.
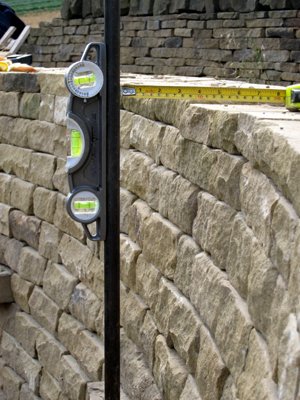
When I finished building the wall, and before setting the cope stones there is a final way to check the angles are correct. i.e. Set the rod tight to the base of the outside wall but this time the rod is set vertically (checking with the attached spirit level). I measured this distance between the outside edge of the top course and the rod.( I measured this in several places). Then set the rod on the inside repeating the measurements from the inside of edge of the curve to the rod. If the wall is built correctly then these measurements should all be equal.
By using the walling rod it also ensures that you have no bumps and dips in the wall. This method can also be used on straight walls and other features.